Hello Guys,
Few days back I have to share some files with my friend and I was searching for a way how to go it.
As the files were confidential I cant put them on Dropbox or on google drive.that time I have share those file using Apache web server with basic authentication.but i was not happy with the way i have share them.so I have started searching a cool way to do it and I come across i really cool way.so Here we go with pydio is a file sharing software.and it has some really cool features like google drive but it will be great it you explore then at your own.
So cumming back to installation of pydio it really a cool having a nice webbased GUI and all.so Lets start.
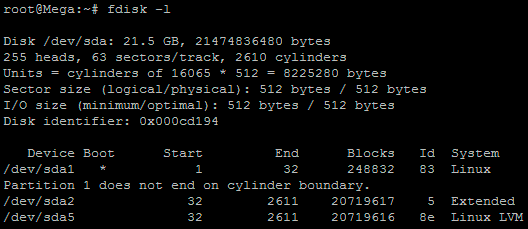
So I have a VM on Amazon having 20GB of disk and 4GB of RAM and Yes the OS is Ubuntu 14.04


 Copy the contents shown in the above window and paste them in /usr/share/pydio/.htaccess file.
Few days back I have to share some files with my friend and I was searching for a way how to go it.
As the files were confidential I cant put them on Dropbox or on google drive.that time I have share those file using Apache web server with basic authentication.but i was not happy with the way i have share them.so I have started searching a cool way to do it and I come across i really cool way.so Here we go with pydio is a file sharing software.and it has some really cool features like google drive but it will be great it you explore then at your own.
So cumming back to installation of pydio it really a cool having a nice webbased GUI and all.so Lets start.
So I have a VM on Amazon having 20GB of disk and 4GB of RAM and Yes the OS is Ubuntu 14.04
Some Basic INFO about the Pydio
Having a private file server is always a best idea. Instead of saving your precious data in the third party servers and Cloud, why not turn your old system into a robust File server, put your data safely in it, and access them anywhere from any device? Sounds good? Let me introduce Pydio, an open source alternative to Dropbox and box.net.
Pydio, formerly known as AjaXplorer, is an open source application that can be used to setup fileserver on any system. It is an alternative to SaaS Boxes and Drives, with more control, safety and privacy, and favorable TCOs. It provides the easy access to files/folders from any system, from any browser over LAN or WAN. It has an embedded WebDAV server and native mobile applications for iOS and Android. It is easy to install, configure and it is designed to provide enterprise grade security and control over your data. Moreover, Pydio users and groups can be mapped directly from your external LDAP/AD server, or from the most common PHP-based CMS.
on the VM use the below command to add the repo and make your life easy.
$ sudo -i
# echo " deb http://dl.ajaxplorer.info/repos/apt stable main " >> /etc/apt/sources.list
# echo "deb-src http://dl.ajaxplorer.info/repos/apt stable main" >> /etc/apt/sources.list
after that do update the and upgrade
#sudo apt-get update
# sudo apt-get upgrade
#sudo apt-get install pydio*
After all this finish your pydio is installed on your server just few configuration are remaining.
install mysql if it is not install.
#sudo apt-get install mysql-server
mysql> create database pydiodb;
Query OK, 1 row affected (0.05 sec)
mysql> GRANT ALL ON pydiodb.* TO pydiouser@localhost IDENTIFIED BY 'centos';
Query OK, 0 rows affected (0.08 sec)
mysql> flush privileges;
Query OK, 0 rows affected (0.04 sec)
mysql> exit
Then
sudo vim /etc/apache2/apache2.conf
find
<Directory /usr/share>
AllowOverride None
Require all granted
</Directory>
and replace the None with all so it will look like
<Directory /usr/share>
AllowOverride All
Require all granted
</Directory>
and then close the file
Configuration to reflect the change restart the apache and make the pydio directory writable
#sudo service apache2 restart && chmod -R 777 /usr/share/pydio
Now, open up the browser and type http://domain-name/pydio or http://ip-address/pydio in the address bar.
You will see the following screen. It will show you any warnings or errors if exists. Review the error lines to check what action you should do.
Then, Click on the link that says: click here to continue to Pydio.


Click Start Wizard to continue.


Click on the each section and set the required parameters.

Setup Admin account:

Set default language and file server title:


Configure MySQL database name and user. Enter mysql database and user details and click “try connecting to database”. If everything ok, you should see a message: “Connexion established” in the bottom.
 Copy the contents shown in the above window and paste them in /usr/share/pydio/.htaccess file.
And we are done doing our configurations
A very nice screen will appear in front of you and now you can login and explore the features of it at you own or you can refer the manual for it
Enjoy In the next part I will explain you how you can integrate your Pydio with your Ldap server which will reduce your overhead of creating the users.
Till Then Enjoy.....
Happy to Help you....!