Hello Techies,
Welcome to my blog again.Just looking at the infra motioning few days back in my office.My boss comes with a requirement that he want to monitor on the disk of all the servers including the developer's environment.I have a choice to write a custom shell script and get job done or to take it as an opportunity and configure some robust monitoring which will help me in feature also.
So I have choose the 2nd way and decided to go with Nagios and put motioning on all the available system not just for only dick checks also for the software and for OS.I have done it in the past but want to do it in easier fashion so the guys with less understanding with Nagios can also able to add the system so i need a way to do it so I have done a bit a research and come to with this solution
I have choose Ubuntu 15.04 for Nagios server OS and Nagios 4.1.1 as my Nagios version.
I have installed the ubuntu.
I have installed LAMP stack on the server using the below commands
sudo apt-get install apache2 mysql-server mysql-client php5 php5-mysql php5-gd php5-tidy
Then install the following prerequisites:sudo apt-get install build-essential libgd2-xpm-dev apache2-utils unzip
Create Nagios User And Group
Create a new nagios user account:
sudo useradd -m nagios
sudo passwd nagios
Create a new nagcmd group for allowing external commands to be submitted through the web interface. Add both the nagios user and the apache user to the group.
sudo groupadd nagcmd
sudo usermod -a -G nagcmd nagios
sudo usermod -a -G nagcmd www-data
Download Nagios And Plugins
Go to the nagios download page, and get the latest version. As of writing this, the latest version was 4.1.1.
wget https://assets.nagios.com/downloads/nagioscore/releases/nagios-4.1.1.tar.gz
And, download nagios plugins too. Nagios plugins allow you to monitor hosts, devices, services, protocols, and applications with Nagios
wget http://www.nagios-plugins.org/download/nagios-plugins-2.1.1.tar.gz
Install Nagios And Plugins
Install nagios:
Go to the folder where you’ve downloaded nagios, and extract it using command:
tar xzf nagios-4.1.1.tar.gz
Change to the nagios directory:
cd nagios-4.1.1/
Run the following commands one by one from the Terminal to compile and install nagios.
sudo ./configure --with-command-group=nagcmd
sudo make all
sudo make install
sudo make install-init
sudo make install-config
sudo make install-commandmode
Install Nagios Web interface:
Enter the following commands to compile and install nagios web interface.
sudo make install-webconf
You may get the following error:
/usr/bin/install -c -m 644 sample-config/httpd.conf /etc/httpd/conf.d/nagios.conf
/usr/bin/install: cannot create regular file ‘/etc/httpd/conf.d/nagios.conf’: No such file or directory
Makefile:296: recipe for target 'install-webconf' failed
make: *** [install-webconf] Error 1
The above error message describes that nagios is trying to create the nagios.conf file inside the /etc/httpd.conf/directory. But, in Ubuntu systems the nagios.conf file should be placed in /etc/apache2/sites-enabled/directory.
So, run the following command instead of using sudo make install-webconf.
sudo /usr/bin/install -c -m 644 sample-config/httpd.conf /etc/apache2/sites-enabled/nagios.conf
Check if nagios.conf is placed in /etc/apache2/sites-enabled directory.
sudo ls -l /etc/apache2/sites-enabled/
Sample output:
total 4
lrwxrwxrwx 1 root root 35 Nov 28 16:49 000-default.conf -> ../sites-available/000-default.conf
-rw-r--r-- 1 root root 1679 Nov 28 17:02 nagios.conf
Create a nagiosadmin account for logging into the Nagios web interface. Remember the password you assign to this account. You’ll need it while logging in to nagios web interface..
sudo htpasswd -c /usr/local/nagios/etc/htpasswd.users nagiosadmin
Restart Apache to make the new settings take effect.
In Ubuntu 15.10/15.04:
sudo systemctl restart apache2
Install Nagios plugins:
Go to the directory where you downloaded the nagios plugins, and extract it.
tar xzf nagios-plugins-2.1.1.tar.gz
Change to the nagios plugins directory:
cd nagios-plugins-2.1.1/
Run the following commands one by one to compile and install it.
sudo ./configure --with-nagios-user=nagios --with-nagios-group=nagios
sudo make
sudo make install
Wait, We are not finished yet.
Configure Nagios
Nagios sample configuration files will be found in the /usr/local/nagios/etc directory. These sample files should work fine for getting started with Nagios. However, if you want, you’ll need to put your actual email ID to receive alerts.
To do that, Edit the /usr/local/nagios/etc/objects/contacts.cfg config file with your favorite editor and change the email address associated with the nagiosadmin contact definition to the address you’d like to use for receiving alerts.
sudo nano /usr/local/nagios/etc/objects/contacts.cfg
Find the following line and enter the email id:
[...]
define contact{
        contact_name                    nagiosadmin             ; Short name of user
        use                             generic-contact         ; Inherit default values from generic-contact template (defined above)
        alias                           Nagios Admin            ; Full name of user
        email                           vijay9867206455@gmail.com  ; <<***** CHANGE THIS TO YOUR EMAIL ADDRESS ******
        }
[...]
Save and close the file.
Then, Edit file /etc/apache2/sites-enabled/nagios.conf,
sudo nano /etc/apache2/sites-enabled/nagios.conf
And edit the following lines if you want to access nagios administrative console from a particular IP series.
Here, I want to allow nagios administrative access from 192.168.1.0/24 series only. So, I edited this file as shown below.
[...]
## Comment the following lines ##
#   Order allow,deny
#   Allow from all
## Uncomment and Change lines as shown below ##
Order deny,allow
Deny from all
Allow from 127.0.0.1 192.168.1.0/24
[...]
Enable Apache’s rewrite and cgi modules:
sudo a2enmod rewrite
sudo a2enmod cgi
Restart apache service.
sudo systemctl restart apache2
Check nagios,conf file for any syntax errors:
sudo /usr/local/nagios/bin/nagios -v /usr/local/nagios/etc/nagios.cfg
If there are no errors, start nagios service and make it to start automatically on every boot.
sudo service nagios start
sudo ln -s /etc/init.d/nagios /etc/rcS.d/S99nagios
Note: In Ubuntu 15.10/15.04, you will see the following error message while starting nagios service.
Failed to start nagios.service: Unit nagios.service failed to load: No such file or directory.
Or
[....] Starting nagios (via systemctl): nagios.serviceFailed to start nagios.service: Unit nagios.service failed to load: No such file or directory.
failed!
To fix this error, copy /etc/init.d/skeleton to /etc/init.d/nagios using the following command:
sudo cp /etc/init.d/skeleton /etc/init.d/nagios
Edit file /etc/init.d/nagios:
sudo nano /etc/init.d/nagios
Add the following lines:
DESC="Nagios"
NAME=nagios
DAEMON=/usr/local/nagios/bin/$NAME
DAEMON_ARGS="-d /usr/local/nagios/etc/nagios.cfg"
PIDFILE=/usr/local/nagios/var/$NAME.lock
Save and close the file.
Finally you need to change the permissions of the file
sudo chmod +x /etc/init.d/nagios
Now, you can start nagios service using command:
sudo /etc/init.d/nagios start
Access Nagios Web Interface
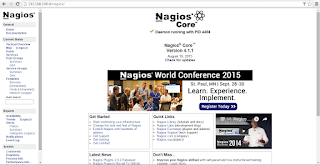
Open up your web browser and navigate to http://nagios-server-ip/nagios and enter the username as nagiosadmin and its password which we created in the earlier steps.


Here it is how Nagios administrative console looks like:
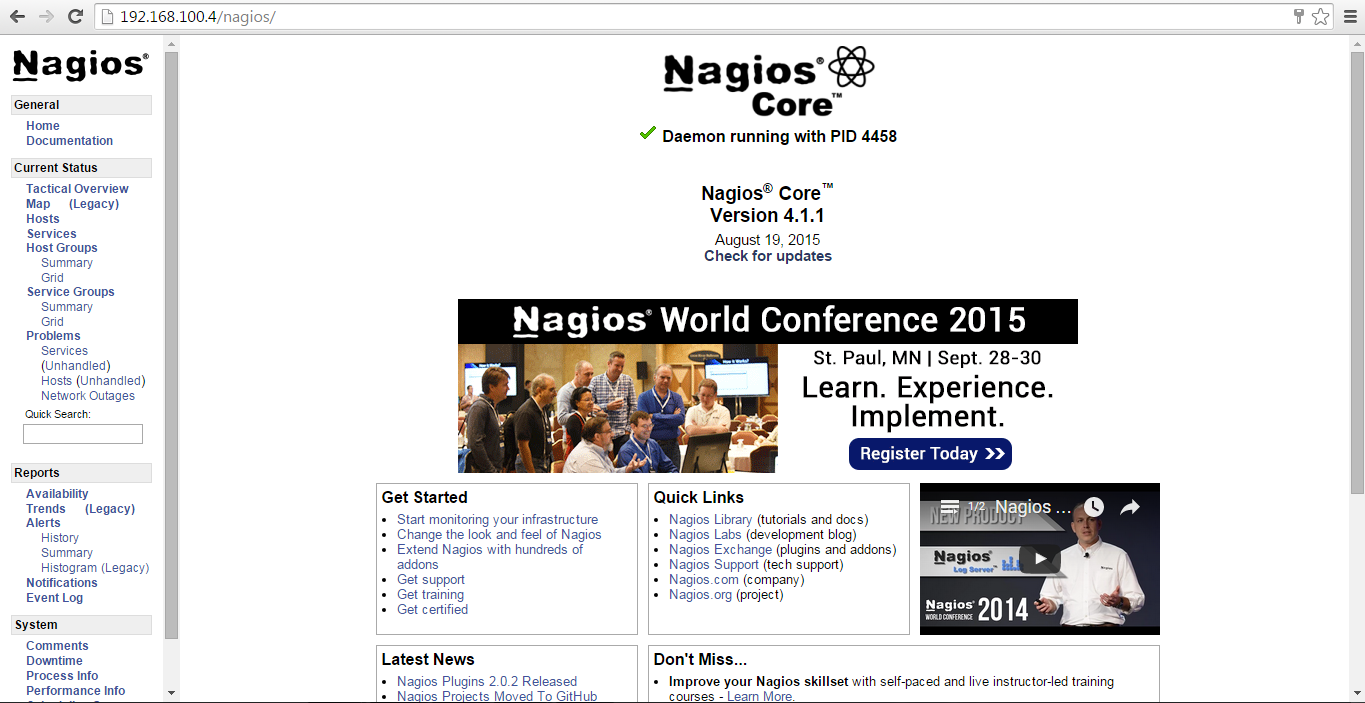

Click on the “Hosts” section in the left pane of the console. You will see there the no of hosts being monitored by Nagios server. We haven’t added any hosts yet. So it simply monitors the localhost itself only.


Click on the localhost to display more details:


That’s it. We have successfully installed and configure Nagios core in our Ubuntu 15.04 server.Till now it all sounds good and we have done with the 1st part of configuring the nagios and its also start monitoring itself locally now We have too add clients to it.
I will couver that in the second part how easily you can add client and configure the alert on it also with some more cool stuff.
Enjoy...
No comments:
Post a Comment